
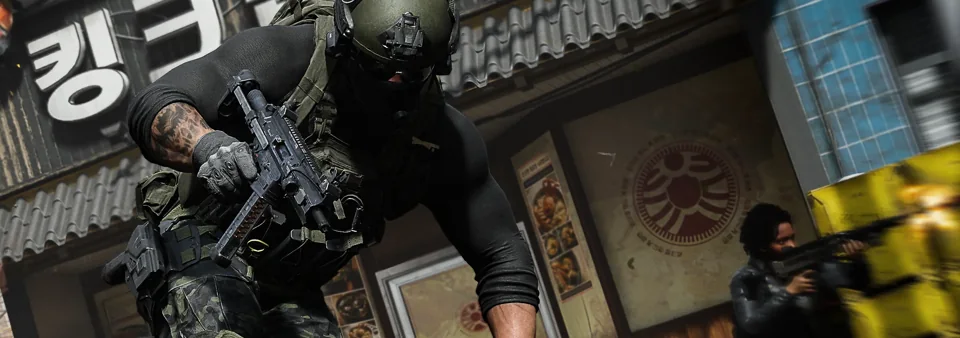
Promotional image: Activision. This article is source-reviewed editorial coverage, not a hands-on test.
Movement names and control options come from official material checked October 21, 2026. Drills are original recommendations, not hands-on timing results; exact frame counts, fastest routes, and device-specific best settings are unverified.
Learn the vocabulary before copying a clip
Infinity Ward’s gameplay guide describes Mantle Slide, Mantle Momentum, Mantle Steering, Supine Slide, pipe traversal, ledge movement, and Climbing Jump. Mantling permits steering, aiming, or disengaging during the transition. A dedicated movement course is also described for launch.
Those names establish available systems, not a guarantee that any chain is the fastest route in a particular encounter. Camera motion can make a short clip look dramatic. Evaluate where the player starts, where they finish, and whether they can control their next action.
Drill one: separate access from speed
Choose a simple obstacle and approach it from a consistent position. First learn whether you can cross and finish where intended. Then repeat with a different approach angle. Our recommendation is to note failed inputs before trying to improve speed; an unreliable shortcut is difficult to judge.
Record the input device, relevant bindings, and the game build or date. Use your own current settings as the starting point. If you change several controls and the route feels better, you will not know which change helped. A short comparison with one change is more informative than copying a full configuration without understanding it.
- Start from the same visible landmark.
- State the intended finishing position.
- Count failed attempts as well as clean attempts.
- Keep a recording if you plan to share a timing claim.
Drill two: connect movement to a decision
After the transition becomes consistent, add a useful choice: continue, stop, or turn toward a second angle. Practice each deliberately. The question is whether you can still make the choice, not whether the animation looks impressive.
For vertical movement, identify where you expect to finish and what you need to see when you arrive. Rehearse leaving the route as well as completing it. This is an editorial training suggestion; we have not measured exposure windows or demonstrated that a particular pipe or ledge is safe in a match.
Keep a drill log that survives updates
The official beta patch notes describe continued work on movement alongside weapons, aim assist, and spawns. That is a reason to attach a version to precise claims rather than treating beta behavior as a permanent benchmark.
For each session, record the route, the current setup, clean attempts, failures, and what you were trying to improve. If an update changes the behavior, repeat the same small drill before rebuilding your entire setup.
The practical goal is a route you can execute while making a useful decision afterward. Once the transition is reliable, test whether it helps the objective you are practicing. If it merely adds motion without improving your position or information, keep it as an optional technique instead of forcing it into every engagement.
Sources & scope
Movement names and control options come from official material checked October 21, 2026. Drills are original recommendations, not hands-on timing results; exact frame counts, fastest routes, and device-specific best settings are unverified.
Multiplayer class notebook
Record two builds and the reason for each attachment. Compare your own notes without a made-up meta score.
Open the tool